Saturday, July 28, 2012

The First Time

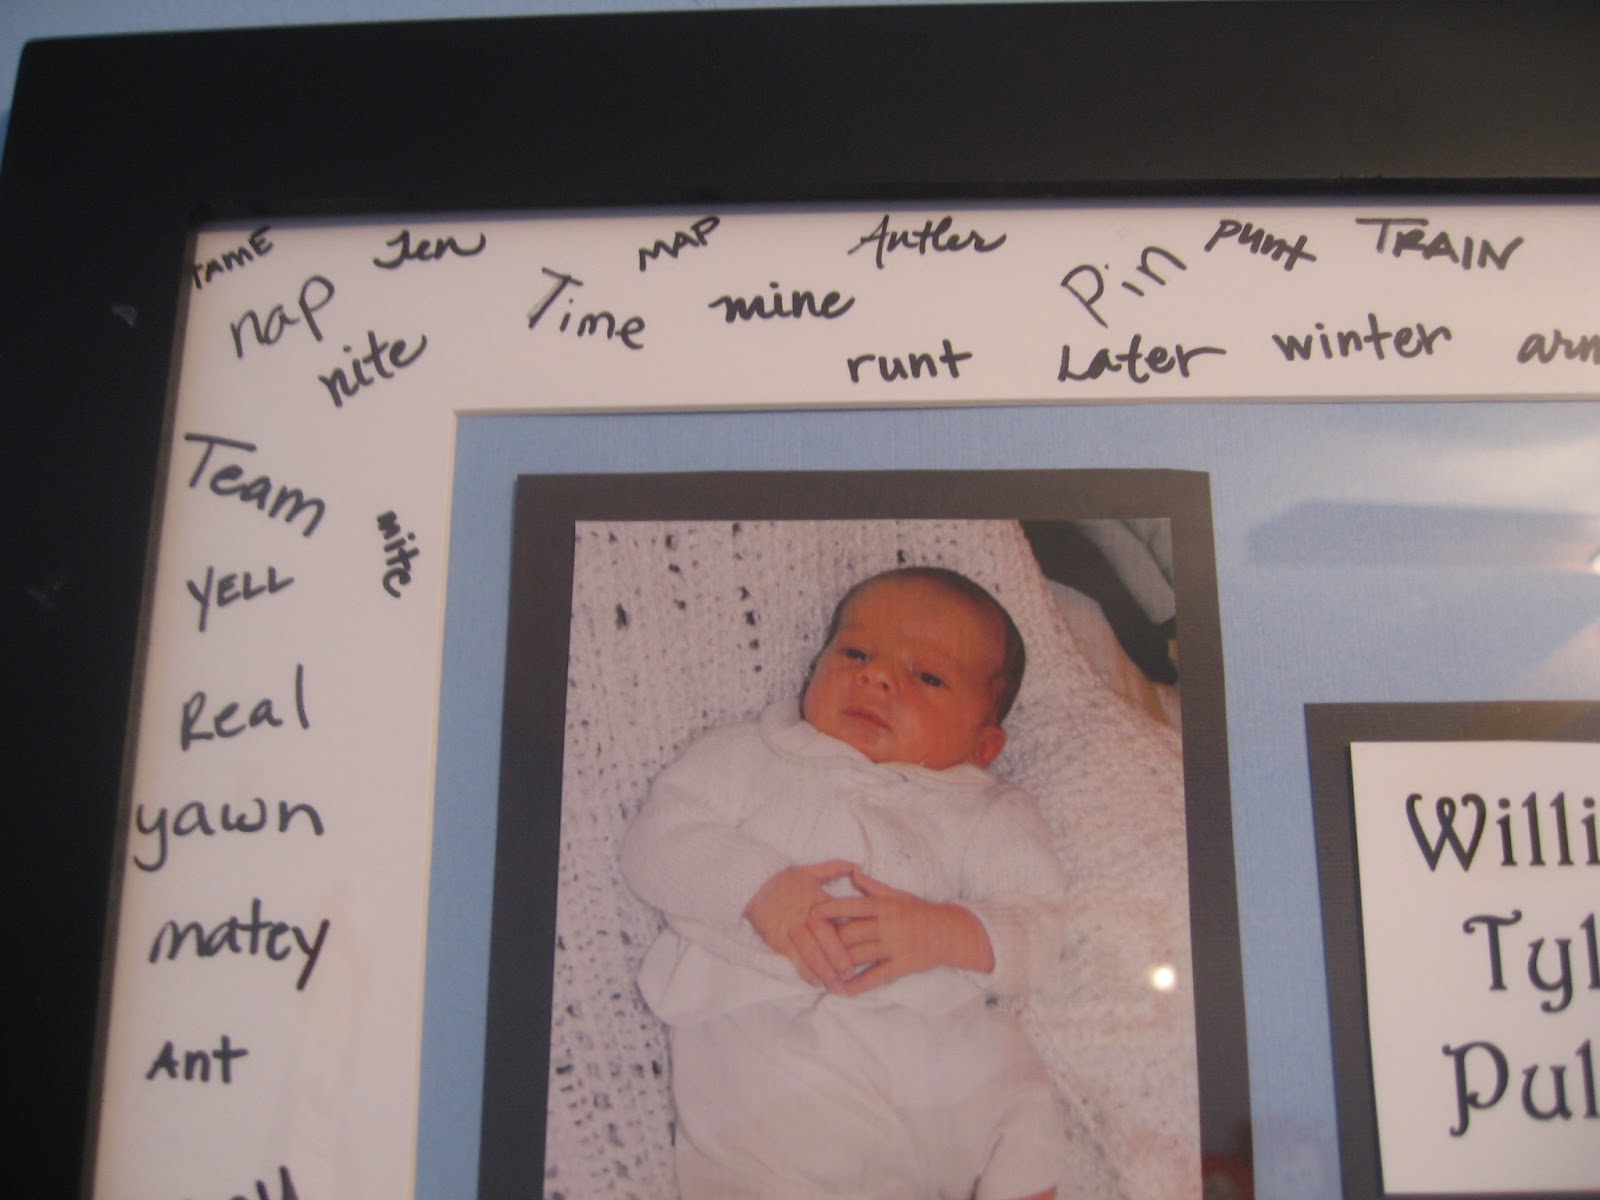
I am taking a little pause from the gift ideas, I posted this little thing on my family blog, and I liked it so much and though so many people could learn from this, that I wanted to share it on here.


I really love being a Mom. It is so great having someone love you so much, no matter what.

 I love that feeling when they rest their head on your shoulder as you are carrying them to bed, or that big smile when you walk into the room.
Children teach us amazing life lessons that no amount of school, or number of books could.
They teach you to love and trust with out question.

They teach you that just because something isn't suppose to be a toy, doesn't mean it can't be, and that it can't be fun!
They also teach you that sometimes, you just need to throw your Cheerios on the floor, then laugh about it.

But one of the things I love most about them, is that they teach you to enjoy everything like it's your first time. This really hit me the other day when Nick was out watering the flowers and I brought William over to feel the water coming out of the garden hose. To him, it was the neatest thing ever, because he had never experienced it before.

We take so many things for granted in our busy days, how beautiful the sun is when it rises and sets, the sounds of the birds chirping outside or the occasional chicken or bunny wandering through your yard.

So tomorrow lets try to be more like them. Enjoy being you, and everything that means. Even if you have to spend a few minutes looking in the mirror telling yourself how wonderful you are, especially to your family. 
Enjoy nature and all this world has to offer, the laundry, dishes or checking your email can wait for the unplanned trip outside to see what kind of adventures are waiting.

Monday, July 23, 2012

The ABC's of why I love you!

Another gift I made my husband, this one while we were dating is a scrapbook of the ABC's of why I love him. Each letter had it's own page, with a corresponding word.
Some pages are fancier than others,

 And I had to pull out the dictionary for a few, or even make one up!
That is the fun of this kind of project though, you can make it to match you and your style.

I went through all of my magazines and got a bunch of words and letter to use and I hand wrote the rest, trying to make it more personal but typing it up and printing it will give it a more clean, sharp look.

 You don't need a bunch of do dads, specials brads, cutters or charms. A lot of the pages I just cut out paper, usually backing it with another color, and glued it on. Totally simple.
 I love this because each one is different, depending on when in your life you make it, and who you are making it for.
It doesn't have to just be for your significant other either, have your children help make one for the grandparents, aunt or family friend. Anyone you want to show just how much you care.

Thursday, July 12, 2012

Wedding Song

One of the first gifts I made for my husband after we were married is a framed set of the lyrics to our song. The song that we had our first dance to, the one that always makes me cry when I hear it.
This is by far the easiest thing I have ever done, just type up the lyrics (or simply find them online, copy and paste) I did mine in purple, since our wedding colors were purple and white. Print it off, I just used my home printer on regular paper, but you can use a patterned paper (nothing to bold though, or else you font will be hard to read) or take it some where and have it professionally done.
Buy a coordinating frame and mat, if you can't find a mat the color you want/need, just over to any craft store or even Wal-mart and buy a little bottle of acrylic paint.


In the corners I put two flowers from our wedding to add a very special and personal touch. All of the men in our wedding party had wooden flowers, and they worked great for this. Just secure on with some tacky glue. Silk flowers will work, or even your dried real flowers. Don't have any left, who cares, run over to the store and buy a stem in whatever color you used.


Some great things you could do to make it even more special, buy a frame that has two or more sections, and fill the others with pictures, wedding pictures, engagement pictures, or a symbol of your love, a heart in the sand, whatever fits your love, relationship and feelings.
One last things, don't forget to have fun with this! Adapt it for you, change it to the song you danced with your Father and use as a Birthday or Father's Day gift, or for you Mother. In the crafting world, anything goes.

Creative Gifting

I am sure I am not alone in the quest for unique gifts. My husband is a very hard person to shop for. The only hobby he has is reading, and since we don't even read in the same genre, I never know what to get him, and I was awfully tired of giving him Barnes and Noble gift cards. So, my search for something unique started. I looked and looked, I found TONS of cool things, things I would love to have, and wish he would love to have, but nothing I knew for a fact he would use.
My husband and I are very different, he can fit everything "he" owns in a couple of duffel bags, and he would be happy with just that. Me on the other hand, I like stuff. I love all of my jewelry, my shoes, purses and such. I especially love all of my craft things. Boxes, paints, feathers, flowers, buttons, you name it. I made almost all of the decorations in our home, and I am very proud of all of them, he finds my amount of stuff annoying.
So, I figured I would use what I am good at, crafting, in order to make him gifts. I am not very good with words, I have a very hard time saying what I mean, and how I feel, but when I put it on paper, or express it with some form of art,  feel that I get my point across much better.
So here it goes, I am doing a little section of unique, handmade gifts perfect for those hard to gift people. Husbands, Wives, Parents, Grandparents, anyone in your life who seems to have everything, and therefor needs nothing.
I would love to hear about things you have made. My husband still has birthdays and Christmas's coming up and I am always looking for new things to give him!

Thursday, July 5, 2012

Measure twice, cut once


I just wanted to pound that into your head ONE more time. I'm sure your Grandfather told you, your Grandmother told you, no doubt your parents told you and probably other people in your life as well.
The old saying "Measure twice, cut once" is certainly a great, and use full piece of advice but we don't always follow it do we?

My parents came in town for a visit to see their newest grandchild, and brought with them news of a nursery design contest. I was very excited about this, because I had pretty much designed or made everything in my sons nursery myself.
I still had a few final touches to do, and having just gotten my new sewing machine in the mail, it was perfect timing. So I set out tied the last bow, finished the knobs on the dresser and set out to sew the bottoms of the curtains.
I had bought curtains years ago, on clearance thinking navy blue is great, it goes with almost everything, I will use them one day. And I did, but when I pulled one out of the package, and held it up to the window, it proved to be to short. So, I went over to Joann's, picked out some cute fabric, came home and got it all ready to sew onto the curtains themselves.
They were attached, ironed and slipped over the curtain rod. I hung one side up, hung the other side up and stared at them in disbelief.

One was side was longer than the other.....
I couldn't believe my eyes, I instantly burst into laughter, and called my parents in to come look. Turns out, I had picked up two different sizes. It could have been a lot worse, so I set to the task of picking out the seam, to try again.
I layed it out, measured the correct curtain and cut the long one according. Went through the same process and when I hung it up, assuming I was done and they looked perfect, this is what I saw.
One side was still to long.....
I had measured the length of the whole curtain, and sewn the fabric there, not the length of the blue part of the curtain.
So, once again, I had to remeasure, and stitch it over again. This time, I measured twice, and cut once (for the third time).
So, please, learn from my mistake. I know what it is like to be excited about a project, so want to finish it, and have that great feeling that you made something, and it looks great! But slow down, make sure you are cutting and sewing correctly, so you can avoid a curtain fiasco.

Thursday, June 28, 2012

Hat Box Review

I sent out a hat box to a wonderful women named Kathy who does reviews on just about everything online on youtube. I sent out a small version of the hot pink Hello Kitty box to her to review. Check it out!

Friday, June 8, 2012

Growing your skill and confidence

We had our first baby on Christmas of last year, and he is such a joy. I have three other friends who had their children (all firsts) within two months of me. Anyone with children will know that it is so hard not to compare your kids to everyone else's, especially with Facebook and Twitter around where you can share anything and everything at a moments notice.

 The same things happens with any skill. It is completely normal to compare yourself to your neighbor who makes beautiful wind chimes and dream catchers. To your best friend who is an amazing scrap booker, and your sister who draws and paints like a master. We all do it, even when I don't particularly enjoy a certain craft I still look at someone I know who can do it well and say, I wish I could do that. The thing you have to remember is, we are all beginners at some point in time. You don't pick up a craft and immediately begin producing finished product like a pro. You have to work up to it.

 People say that practice makes perfect, but a very wise women, my Orchestra teacher taught me that that is not true. You can practice something all you want, but unless you practice it right, you wont get anywhere. So keep working, and keep trying. Whatever it is you love to do, just keep doing it because you love it. Do your research, look at what other people are doing and decide what is right for you, then work on that. You don't need to be amazing at something to enjoy it. I love to scrap book. I don't ever end up with anything award winning or even worthy to sell to anyone, but I made it, I like how it turned out and that makes me happy so that is all that matters.
So lets recap, practice your art or hobby in the way you would like to accomplish. Do your research and most of all, have fun with it. Crafting should bring you joy, no matter what it is you make or do with it once it is finished. Just enjoy what you do.


Tuesday, May 29, 2012

Parents magazine

Now, I wouldn't normally do this, not on this blog but I am going to ask for every one's help. I entered my son in a contest to be on the cover of Parents magazine but we still need a lot of votes to be on top of this round. Please help William follow his (Mom's) dream of being on the cover by voting. You can (and should) vote every day, and it ends on the 3rd. Thank you everyone!

Monday, May 21, 2012

Our website

We have officially launched our website! We are so excited to offer our handmade items from more than one place. Not only do you not need to have an account as you do with Etsy, but we will have all of our items in our inventory available, all of the time. New items will appear there first, and will be up until we are no longer able to supply it.
Come check it out, we are offering give aways and special deals. The first 10 sales get a free item as well!

Saturday, May 12, 2012

Name Art

This is such a fun and easy craft that was done at my baby shower. What you do, buy a frame with a mat around it, and put a picture of the new baby, the happy couple, or whomever inside with their name(s) printed as well.

Then, you take the letters in their name(s) and come up with as many words or phrases you can using those letters and decorate the mat with it. 
Use colored pens or markers to make it fun, and this way everyone at the shower or party will be able to participate. Everyone comes up with different words and it will be a great keepsake for years to come.

Tuesday, May 8, 2012

Don't waste your money, re-use!


Here is another great blog for organizing. She helps open your eyes to using things you already have around your house, even things you would normally throw away (paper towel rolls, soup cans, etc).
When you already spend your money on these things, why not get that little bit extra from them by creating custom storage for your home, craft room or office?

The best of times

I saw this on Facebook, a friend of a friend found it on Pinterest and I couldn't resist, I just had to do it!
Obviously, I haven't put my pictures in the frames yet, but this is a great way to show off the best moments of your life. I have a picture from our wedding and one of our cute little boy to put up. Underneath the frames you hang a clock with the time that that particular event happened.
You can be sure you will get plenty of comments when neighbors and friends come over and see this beautiful display on your wall.
The words are vinyl letters, I got mine from Vinyl Lettering on Etsy, but I am sure that most anywhere who accepts custom work would be more than happy to do it for you.

Keeping Organized

As any Mom, Wife, Crafter or well, pretty much anyone will know, keeping your house organized can be an uphill battle. It can be hard to find cheap, yet classy ways to keep your bathroom, pantry, and especially craft room organized.

Thanks to Pinterest and my good friend (who pinned this website) I have come across some fantastic ways to stay organized.


 They have 14+ ways to organize your office, basement, entry way, small house or apartment, kids room and so many more. Take a look, I know it has given me some inspiration.


Thank goodness it is yard sale season, I'm going to apply some of these ideas in my home, mainly my craft room, and hopefully I can come up with some great things on my own. Let me know what you find, any great ideas you have and I will let you know mine!


http://tatertotsandjello.com/2012/02/get-organized-in-2012-update-and-ideas.html


Coming soon, to a computer screen near you.

I have tons of great craft ideas coming up! If I could only get a few more hours in the day, baby free (every mom is nodding their head in agreement right now) then I would get so much more done!


But, for now I just wanted to let everyone know that our new line of flower halos and skirts are out. These are great birthday presents, or even a themed birthdays (I had three myself with things like this). Also fantastic for weddings or just because.


We can make bulk or custom  orders, and would love to!


Thursday, April 19, 2012

Being discovered - by a fellow blogger!

About a month ago, a women named Melissa contacted me about our dish scrubbies. She writes a blog, and is doing a piece for young couples and first time home owners. She is searching about and finding great aids for keeping your house clean, organized and beautiful. The best part of all of her finds, they are all a great deal. She is featuring our scrubbies on her blog here in the next day or two, and I just wanted to share the word. I just read the post that she has written for it and it makes us sound more amazing than we actually are, but you wont here either of us complaining! Check out her blog, and you might find something you love!

Wednesday, April 11, 2012

Foam Letters and Dried Flowers

This is a simple and easy project I did probably four or five years ago now. If you are one of those people that save all of your flowers from your wedding, valentines, birthdays etc then this is just what you need. As far as supplies go, you will need dried flowers/babies breath (enough to cover whatever word or phrase you are doing) Styrofoam letters and/or words, paint (interior/exterior or acrylic) and a hot glue (super glue will work fine if you don't have a hot glue gun, but in my opinion, not nearly as easy). 
A little tip, if you don't have a hot glue gun, go get one. You can get them super cheap at Wal-Mart, Michael's, Joann's, Hobby Lobby and I'm sure plenty of other places. You don't need anything fancy, in fact, the one I have been using multiple times a week for about two years, cost me $5. 
I know, your probably thinking, "Why should I listen to this crazy lady when she can't even spell Cherries correctly?" Well, that is a story all in it's own, so just follow my instructions, not my spelling. : )

 The first step once you have all of your supplies gathered is to paint your letters. I used the paint that was on my walls at the time so it would match, that's a great option, because you typically have plenty left over after painting a room, one thing you don't have to buy. Acrylic paint works fantastic though, and you can get a small bottle at any of the stores listed above for usually not much more than a dollar, usually less.
On mine, I only painted the sides, but a little tip, paint the top as well. That way, you wont see any of the white from any angle when you have it hanging on your wall.
Next, cut the stems off of your flowers (Roses do usually work best for this, because their stems tend to be a little tougher than most other flowers, but use what you have) You want them to be about an inch, just don't make them so long they poke through the back of your letters.
I always lay them out first, decide which flowers you want where, make any pattern you would like, that way once you glue them, you know you have them exactly where you want them.
Once you have that all figured out, take your heated glue gun (super glue) and put a moderate amount of glue on the stem, and a dab on the very bottom of the flower where it will be touching the foam. 
Once all of the main flowers are glues, add any accents you would like. Leaves and babies breath work great for this, and are usually included in the bouquets. 

After that, wala! You are done! You could get some spray glitter if you would like some pizzazz added to it, add buttons on the sides of the flowers, whatever shows off your style the best. This would also make a great wreath!
Where to find the letters: TheCraftPlace.com, awesomeevents.com, or your local craft store. You can also buy a sheet or Styrofoam and cut your own letters.

Craftiness

I like to think of myself as a crafty and imaginative person, and not to toot my own horn or anything, but I have many compliments on things I have made and have been asked for plenty of advice (obviously, or else I wouldn't be trying to sell the things I make online to the wonderful people of the world). So I figured, I am always looking for new and fun things to make, so I will share my ideas with you, so that you can have fun new things to make. 
Some things you may have seen before, some may not interest you at all, but I will try and get a variety of things  up. Some will require some sewing, but most wont. Just remember, you can make tweaks to fit you and your home/lifestyle. These are for you, so make them your own, find a way to make it work better for you than what I have given you, because that is what it is all about. 
I will also publish posts of great products I have found, usually not national chain products, but things from local buyers, amazing people I have met on Etsy or some other website. 
If you have found a cool website, product or store, leave a comment! I want to hear about it as much as you do. Us crafters have to stick together!

Sunday, April 8, 2012

Lets get started

Last night I finally decided to do what I have been meaning to do for probably almost two months now. That is, start a blog for our business and all of my crafting adventures.
Part of my reasoning is because as I was walking through Micheal's craft store yesterday looking for brackets to hang up my sons name I made for his nursery, I realized something.
I am going through crafting with drawls.
You see, three weeks ago all of my supplies were packed up and loaded on a truck to be brought from Massachusetts to Kentucky where my husband has been re stationed. And, as you can see, my craft room is the last thing on the list to be unpacked.

As I walked the isles of the store, I remembered all of the unfinished projects I had waiting for me, along with thinking of about ten more things I would like to do.
My husband had a four day weekend this week, so we were able to get everything else unpacked and put away, so Monday that is my goal, to at least get the boxes organized into different craft styles and pull out all of the things I use on a regular basis. Then all I will have to do is find a new craft table, it's a good thing it yard sale season!